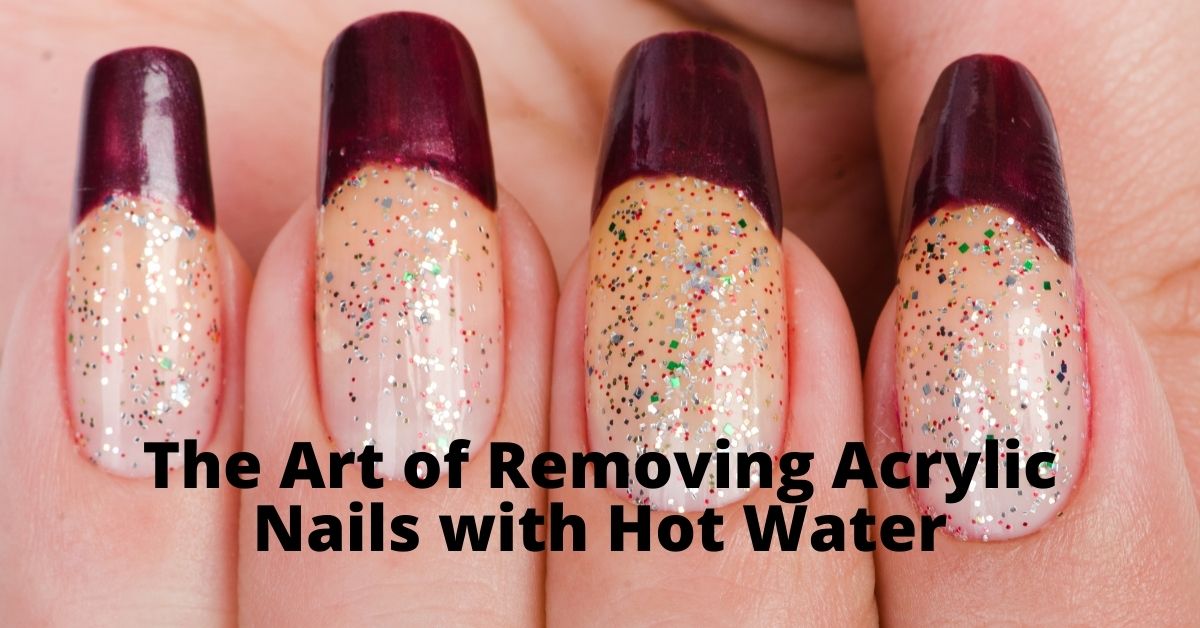
Acrylic nails have been the talk of the town for quite a few days now. With celebrities and social media influencers all flaunting their new nail designs, this particular trend isn’t going to lapse any time soon.
While these nails are a great fashion accessory, removing them might not be that much of a convenient or enjoyable affair. And on top of that, visiting salons every time you want to remove them is both expensive and time-consuming. So, to help you out below we have described the safest possible ways of properly removing your acrylic nails without any damage to the nail cuticles.
How to remove acrylic nails at Home with Hot Water?
Soak your acrylic nails in warm water and let it swell. Then, gently slide the fake nail out of your original one using proper force.
For this you can use a pointed object. But make sure you sterilize it first, so as to prevent infections in case it touches sensitive areas. After removing the nail, you will need to follow up your original nails with a good cuticle oil or moisturizer. This will ensure that your nails aren’t too dry or chapped off and maintain their natural softness and shine.
The duration needed for the nails to slowly start separating may take anywhere between 15-20 minutes. You may also move around your fingers a little bit when dipped to let the glue melt faster or else wait for a few more minutes, before pulling it out.
Can I remove the fake nails with Cold Water?
Unfortunately, cold water isn’t as effective as warm water. Thus, there won’t be any effective results if you try to pull out your acrylic nails through cold water.
This is because the warmth helps melt down the artificial cuticle gum that keeps your nail enhancements and the original nail base interconnected, while coldness makes it even firmer. Moreover, warm water also acts as a preventive measure against microbe infestation and breeding, therefore eradicating any chances of septic.
How to remove if there’s any glue left behind?
Sometimes you may notice a glue line that is left on your original nails after the acrylic nail has been pulled out. It is a common thing which can be taken care of easily and hence there is nothing to worry about. To prevent this you can:
Through warm water and soap solution
- Take a bowl of warm water and add a few drops of any gentle soap solution.
- Stir to create a foam and then submerge your nails after applying a layer of cuticle oil on your fingers, covering every nook and cranny.
- Dip your nails for at least 15 minutes to amply soften the glue.
- Once done, scrap off the now mushy glue out of your nail while applying gentle pressure.
Using a nail buffer
- Take a good-quality nail buffer and start scraping off the left over glue from your nails.
- Be extra sure to not put too much pressure as it can heavily impact your nail cuticles and can even lead to unevenness and pain.
By a nail filer
- A nail filer also works the same way as a nail buffer to give the desired results.
- Take a nail filer and scrape off any excess glue that might be stubbornly sticking on to your original nail by gently scraping it off.
Things to take care when removing acrylic nails at home
Even though removing nail extensions at home may not seem to be a hectic affair, there are certain things to remember when doing so. These include:
- Be patient- The whole process of using hot water to remove these nails takes time, and sometimes more than the average 15-20 minutes. Getting impatient and tugging it off forcefully will only cause you pain, a serious amount of discomfort and may also make your nails prone to infection and pus formation.
- Always moisturize afterwards- Nail extensions are filled up with artificial chemicals which even though may not seem much initially, pose a detrimental effect on one’s original nails. So, once you have pulled them out, always make sure to use a generous amount of cuticle oil or a good quality moisturizer on the nails. You can also take the help of nail strengtheners to keep them strong.
- Give a resting gap- Never and I repeat NEVER EVER try on a new pair of nail enhancements at least 48-72 hours after removing the previous one. Although they are very alluring and give your nails a stylish outlook, our nails require a proper resting time which needs to be respected. Without this your original nails will only keep on degrading, leaving you with no choice but to finally resort to expensive professional services.
- Remove all glue lines- Once you have detached the fake nail, do focus on removing all and any glue lines that may have been left over. When left along, these chemicals continue deteriorating the natural texture of your nails and can cause abnormal brittleness, leading to easy breakage. Therefore, they need to be properly dealt every time.
Are there any other ways to take out nail extensions?
With hot water and soap solution being one of the best methods to pull out fake nails, there are some other methods that will require some time and a lot of tools.
1. Using a Dental Floss
Yes you read that right. Apparently, dental floss is also a good way of taking out acrylic nails at home. But beware this method can be a bit risky as a little too much of force can cause severe skin damage.
For this you will need:
- Dental floss
- Cuticle stick
- Nail cutter
- Cuticle oil or moisturizer
- And an assisting hand (another person)
- Start by pinpointing the area between your nail extension and your original nail with a cuticle stick. Make a slight cut to proceed to the next step.
- Ask the other person to insert the dental floss carefully into the designated part and move the floss in a to-and-fro motion to make the cut deeper.
- Once the fake nail starts coming off, use your fingers to gently pull out the nail or any of its remnants.
- Cut your nails short and then finally apply the nail moisturizer or cuticle oil over the entire nail.
2. Through a nail filer
Another one of the dry method, you will require:
- Nail cutter
- Nail filer
- A carbide drill bit
- An orange stick
- Moisturizer or cuticle oil
- Remove all the decorations on the nail enhancement using the carbide drill bit. Do make sure to use sunglasses or eye shades to protect them from the harmful irritants.
- Cut your nails short and file them until the original length of your nails.
- Scrape out any excess glue lines from your nail with an orange stick.
- Top it off by applying moisturizer or cuticle oil on the nails.
3. Using laminated cards
Now if you have an old business card that you don’t need or even a discarded credit or debit card, you can pull out your nail extensions without needing professional care. For this, take:
- A discarded business, credit or debit card
- An orange stick
- Start by disinfecting the card by dipping in a solution of warm water and soap solution. You never know where the card has been.
- Using the orange stick, find a dent between your original and the fake nail.
- Insert the card into the gap and then pry open the nail by using an upward force from within the dent.
- The fake nail will come off with ease. Wipe out any glue lines that may have been left over.
4. Using acetone
Although acetone is by far the fastest solution to aid in the removal of your acrylic nails, they are also the harshest on your skin. A prolonged usage of this chemical is bound to cause dryness and irritation of your cuticles. To do this you will need:
- 100 percent acetone nail remover
- Zip lock bag
- Cuticle stick
- Moisturizer
- Pour a desired amount of nail remover in a zip lock bag and keep your nails immersed in the solution for a good 3-5 minutes.
- The acrylic nails will automatically start dissolving in the solution.
- Wipe out any remnants of the nails and glue from your nails before moisturizing them with a cuticle oil.
We hope you had a great time unveiling the secrets behind the quick and seamless removal of fake nails and getting to know other interesting facts. For more subscribe to Wntoknow today.
FAQS:
Can I match Fall Nail Designs with acrylic nails?
Absolutely! Fall Nail Designs are perfect for acrylic nails. You can try bold patterns, deep earthy tones, or intricate art that looks amazing on the smooth surface of acrylics. Just make sure to choose a design that complements the shape and length of your nails for a polished look.
How can I protect my nails after acrylic removal for Fall Nail Designs?
After removing acrylics, it’s crucial to protect and care for your nails before jumping into Fall Nail Designs. Use nourishing oils, apply a strengthening base coat, and give your nails a break for a few days if needed. Once they’re healthy, you can confidently embrace the latest fall trends with long-lasting results.
What are the best fall nail designs to try after removing acrylics?
Once you’ve removed your acrylic nails, Fall Nail Designs offer a fresh start for your natural nails. Try simple designs like neutral shades, autumn leaves, or geometric accents to give your nails a stylish makeover. These designs are not only trendy but also easier on your natural nails after acrylic removal.


